Creating projects
Creating a new project in Pike is easy. You can add new projects under the sidebar page Projects:- Click the + Create project button in the top right corner of the page.
- Fill in the required fields:
- Title (required): A clear, descriptive name for your project.
- Team (auto-filled): The team responsible for the project.
- Status (auto-filled): The current state of the project.
Managing Your Project
Quick Actions for Efficiency
Project is designed for easy management:- Click directly into any attribute in the projects view to update it quickly.
- Attach files to the project for easy reference and collaboration.
- Add or update the project description to provide context and details.
Editing a Project
To edit a specific project, simply click on the project title or any attribute within the project view. This action will allow you to modify the project details seamlessly.Managing phases
Scrolling to the bottom of the project view, you can manage phases effectively:- Add: Create new phases with corresponding dates to track key deliverables.
- Edit: Modify existing phases to reflect changes in the project timeline.
- Remove: Delete phases that are no longer relevant to the project.
Custom project statuses
Customise your project statuses on a workspace level by going to: Workspace settings -> Project statuses. Create your custom statuses in the pre-defined, non editable status categories (backlog, planned, in progress, completed and cancelled). A project status can have a custom colour, name and description. NB: The order of statuses in the “In Progress” category, define the progress of the status icon.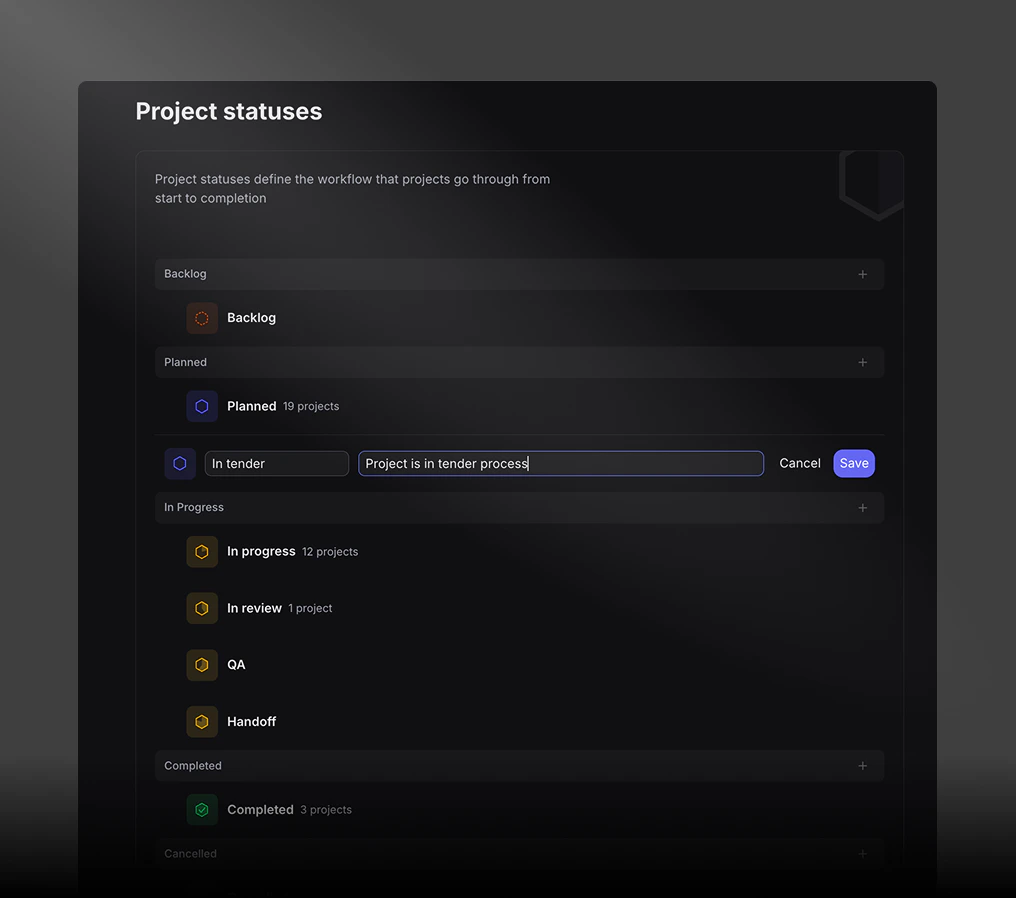
Related Views
To enhance your project management experience, explore the following related pages:Tasks Management
Learn more about managing tasks within your project.
Project Finance
Set budgets, track invoices and forecast earnings.
Project Settings
Manage important project details and settings.
Project Time
Track planned and actuals, billable hours distribution and time budget.